Turning ESP32-CAM into a mini NAS is a not-so-useful, but fun experiment. There are obviously limitations with the ESP32’s limited processing power, RAM, and SD card speed that limit performance, but for small file transfers and lightweight use cases, it can work well.
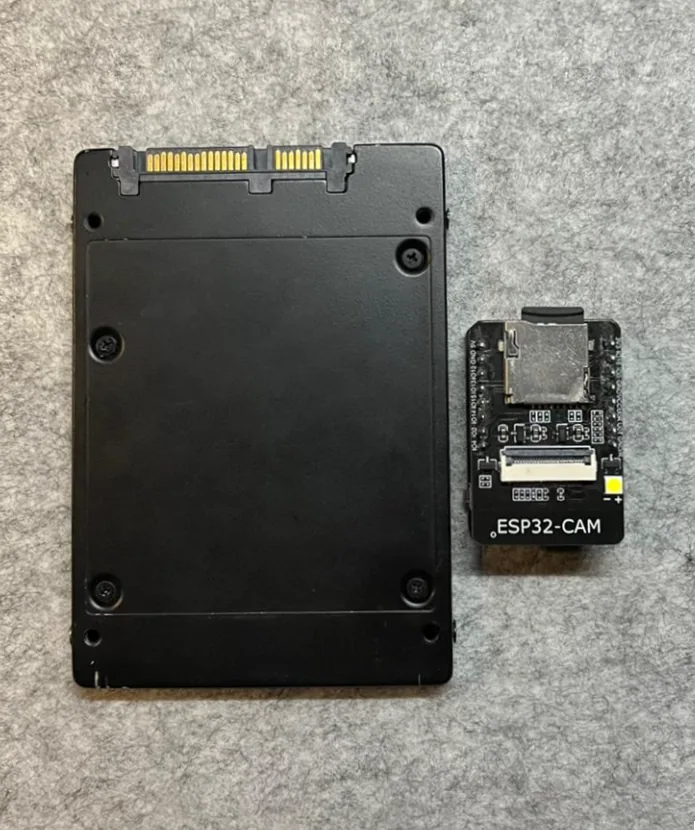
ESP32 NAS compared to a 2.5" SSD.
Overview
- Goal: Use the ESP32-CAM to serve files over the network through HTTP, creating a simple file server accessible from other devices.
- Limitations:
-
Max SD card speed is around 12 Mbps. File browsing and downloads are handled through your browser.
-
Limited to small file transfers (ideal for text, configs, or lightweight media).
- Wi-Fi bandwidth on the ESP32 is around 150 Mbps at best.
-
No authentication (but can be configured if needed).
-
What You'll Need:
- ESP32-CAM with SD card slot or an ESP32 with a microSD card module
- MicroSD card (formatted to FAT32)
1. Prepare the ESP32-CAM:
- Format the SD card to FAT32.
- Ensure the ESP32-CAM is running a stable firmware such as one based on Arduino IDE. I had to reflash mine from older ESPHome projects.
2. Flash File Server Firmware:
- Use the Arduino IDE to upload a simple file server sketch.
- Install required libraries:
- Arduino Library Manager > Install "ESPAsyncWebServer"
#include <WiFi.h>
#include <SD_MMC.h>
#include <AsyncTCP.h>
#include <ESPAsyncWebServer.h>
- Sketch to serve files from SD card:
#include <WiFi.h>
#include <SD_MMC.h>
#include <AsyncTCP.h>
#include <ESPAsyncWebServer.h>

const char* ssid = "YOUR_SSID";
const char* password = "YOUR_WIFI_PASSWORD";

AsyncWebServer server(80);

void handleFileUpload(AsyncWebServerRequest *request) {
  if (request->hasParam("file", true)) {
    AsyncWebParameter *param = request->getParam("file", true);
    String filename = param->value();
    File file = SD_MMC.open("/" + filename, FILE_WRITE);
    if (file) {
      file.print(param->value());
      file.close();
      request->send(200, "text/plain", "File uploaded: " + filename);
    } else {
      request->send(500, "text/plain", "Failed to open file for writing");
    }
  } else {
    request->send(400, "text/plain", "No file uploaded");
  }
}

void handleFileBrowser(AsyncWebServerRequest *request) {
  String html = "<h1>ESP32 File Browser</h1><ul>";
  File root = SD_MMC.open("/");
  File file = root.openNextFile();

  while (file) {
    html += "<li><a href=\"/" + String(file.name()) + "\">" + String(file.name()) + "</a></li>";
    file = root.openNextFile();
  }
  html += "</ul><h2>Upload File</h2>";
  html += "<form method=\"POST\" enctype=\"multipart/form-data\">";
  html += "<input type=\"file\" name=\"file\">";
  html += "<input type=\"submit\" value=\"Upload\"></form>";

  request->send(200, "text/html", html);
}

void handleFileRequest(AsyncWebServerRequest *request) {
  String path = request->url();
  if (SD_MMC.exists(path)) {
    request->send(SD_MMC, path, "text/plain");
  } else {
    request->send(404, "text/plain", "File Not Found");
  }
}

void setup() {
  Serial.begin(115200);
  WiFi.begin(ssid, password);

  while (WiFi.status() != WL_CONNECTED) {
    delay(1000);
    Serial.println("Connecting to WiFi...");
  }

  Serial.println("WiFi Connected!");
  if (!SD_MMC.begin()) {
    Serial.println("SDCard Mount Failed");
    return;
  }

  server.on("/", HTTP_GET, handleFileBrowser);
  server.on("/upload", HTTP_POST, handleFileUpload);
  server.onNotFound(handleFileRequest);

  server.begin();
}

void loop() {
}
This code mounts the SD card and serves static files over HTTP with a basic UI.
3. Test it:
- Browse Files: Go to
http://<ESP32_IP>to list files. - Download: Click any file to download it.
- Upload: Use the form at the bottom of the page to upload files to the SD card.
4. Test Access:
- Connect to the ESP32’s IP address (check the Serial Monitor for the IP after boot).
- Access files by entering the IP into a browser (
http://ESP_IP_ADDRESS).