Netdata - Simple Network Monitoring in 30 Minutes
Build a portable network monitoring device in 30 minutes using DietPi and Netdata on an Orange Pi Zero 3.
Recently, I faced a situation where I needed to build a network monitoring device in just 30 minutes. Given the strict timeframe, I opted for the quickest solution I know by building a compact network monitoring device using Netdata on DietPi.
What is Netdata?
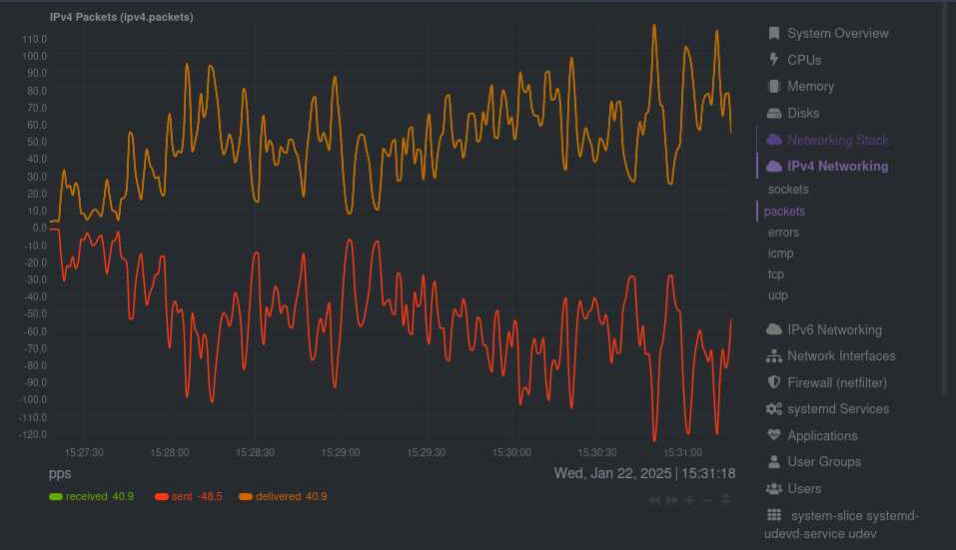
Netdata is a powerful, real-time monitoring tool that provides detailed insights into system performance and health. It features an intuitive web-based interface with live graphs, making it ideal for troubleshooting and performance analysis. Netdata provides detailed insights into CPU, memory, disk usage, network activity, and more. Its lightweight footprint makes it a great choice for monitoring systems without compromising their performance. Some of the reasons I went with Netdata on this specific occasion:
- Real-Time Monitoring with continuously updated metrics and graphs.
- Extensive Metrics Coverage, from system health to application-level insights.
- Customisable Dashboards
- Works out of the box, with auto-detection of services.

What is DietPi?
DietPi is a lightweight and highly optimized Debian-based operating system tailored for single-board computers (SBCs) like Raspberry Pi and Orange Pi. It’s perfect for resource-constrained devices with a minimal installation process. It includes a collection of optimized software options, making it incredibly user-friendly and perfect for projects requiring quick deployments:
- Optimised for performance on SBCs like Raspberry Pi, Orange Pi, Rock Pi, etc.
- Includes pre-configured software through the
dietpi-softwareutility. - Reduces overhead using resource efficient processes, allowing more resources for applications.
Building the Device
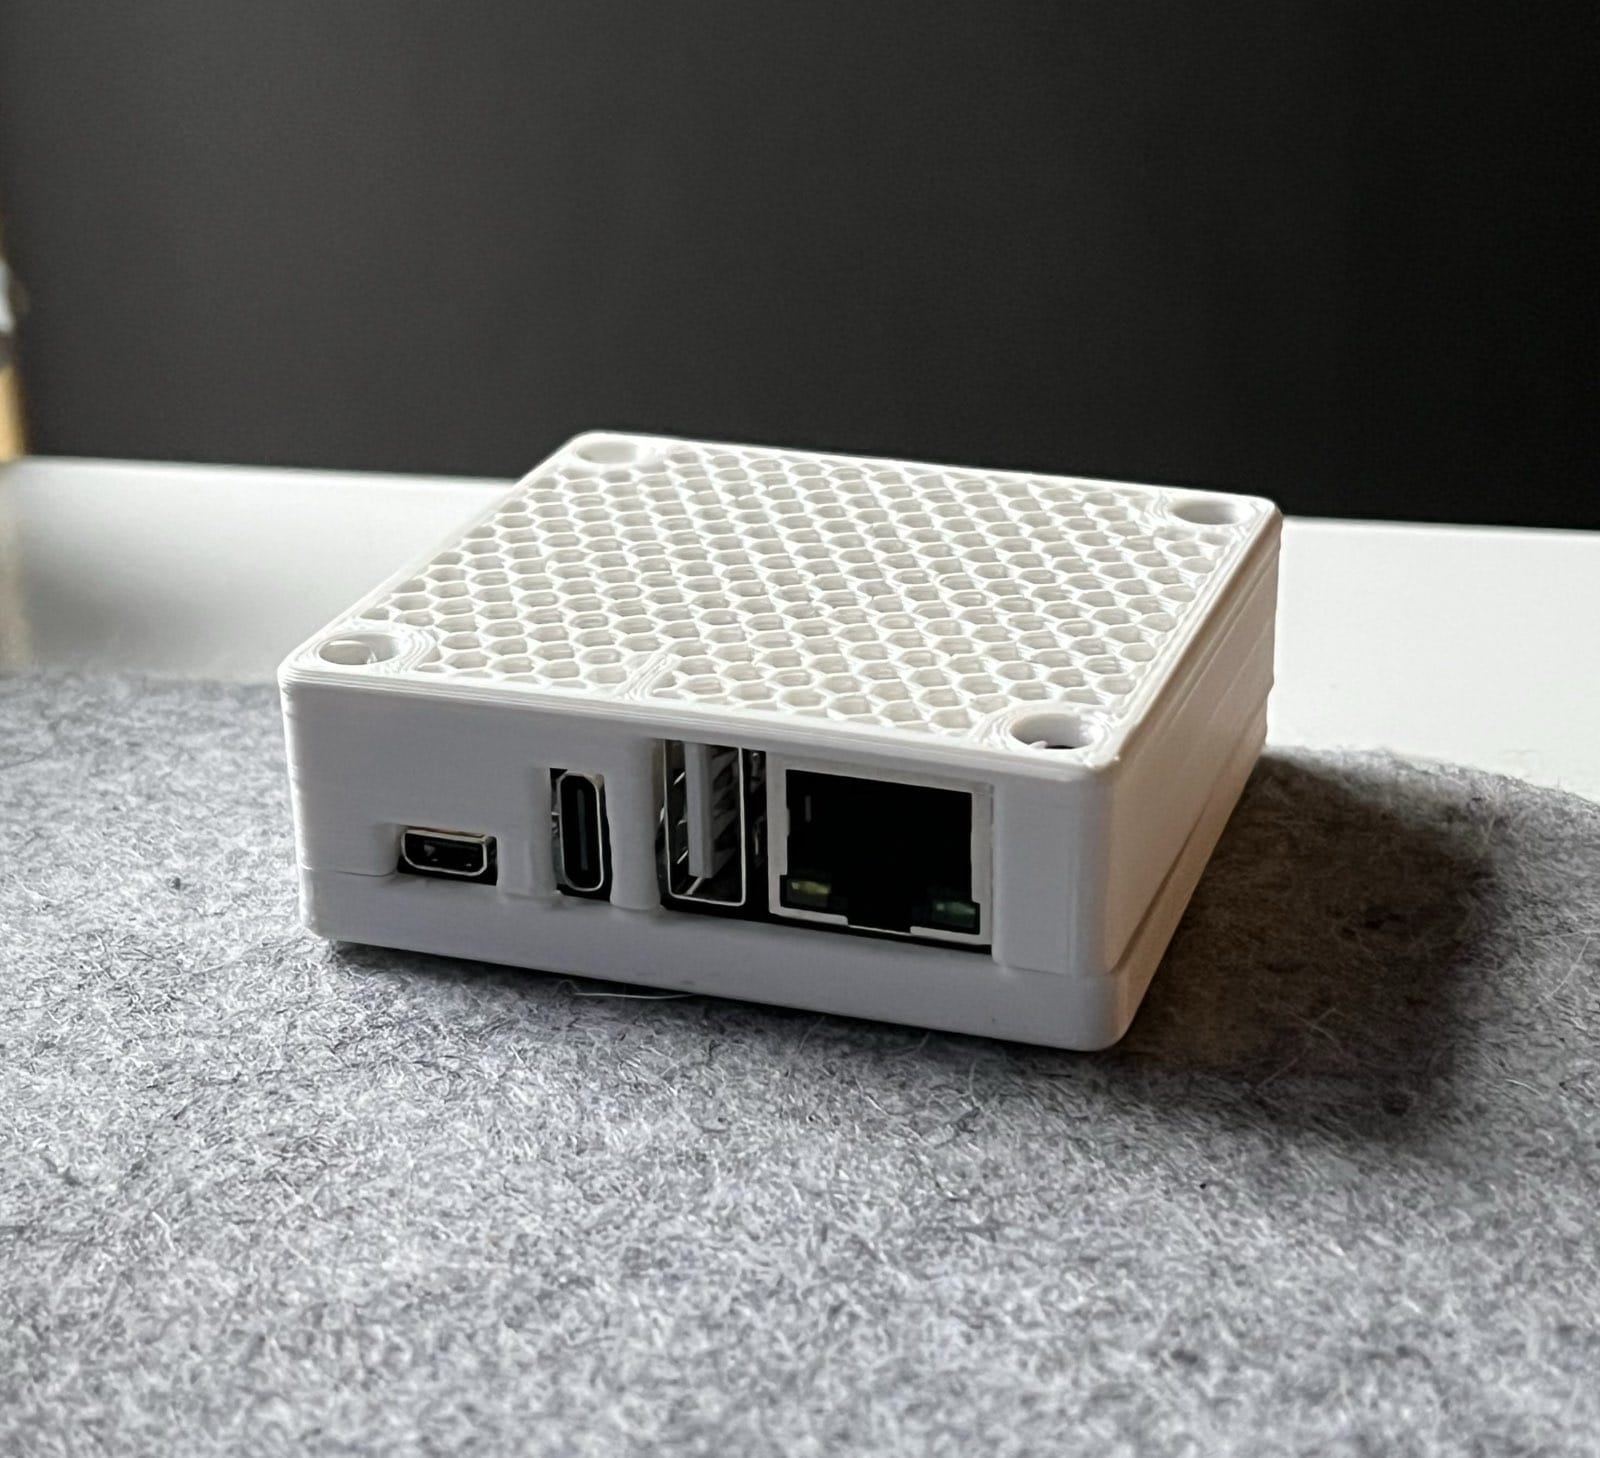
For this project, I used an Orange Pi Zero 3 with DietPi OS.
Steps to Set Up the Device
- Flash the OS:
- Download the DietPi image and flash it onto an SD card using tools like Etcher.
- Initial Configuration:
- Boot the Orange Pi with the flashed SD card.
- Log in using the default credentials (username:
root, password:dietpi). - Change these immediately for security.
- Update the System: During the initial setup session, the system will pull OS updates. Use the
dietpi-updatecommand to update DietPi itself. - Install Netdata: Search for and install Netdata through
dietpi-softwareand install it. - Configure Netdata: By default, NetData is only accessible through localhost. If you need to access the web interface from another device, update the bind under
/etc/netdata/netdata.conf, locate thebind toline and change127.0.0.1to another interface (e.g.: 0.0.0.0 to allow all interfaces). - Access the Web Interface:
http://<dietpi-IP>:19999
Enhancements and Security
In my use case, I made additional adjustments to improve functionality and security:
- Remote Access:
- Installed Xfce for remote desktop capabilities and enabled password authentication.
- Restrict Access:
- Restricted access to the Netdata web interface by allowing connections only through our MDM network for added security.
- Replaced the default SSH client (Dropbear) through
dietpi-softwarewith OpenSSH to enable SFTP file transfers, then disabled all unneeded services, changed the default SSH port and finally ended up with a usable, portable network monitor.
